Chào mừng bạn đến với hướng dẫn về cấu hình Lighttpd Web Server trên Debian 11 với PHP và SSL. Tuy nhiên, trước khi chúng ta bắt đầu vào vấn đề chính, chúng ta cần hiểu rõ về công cụ này là gì.
Hiện nay có nhiều Web Server để sử dụng. Chúng bao gồm Apache, Nginx, Litespeed, Apache Tomcat, Caddy, Jetty, Hiawatha và nhiều công cụ khác. Tất cả các máy chủ web này hoạt động với mục tiêu chung.
Một máy chủ web hoạt động bằng cách chấp nhận các yêu cầu HTTP(s) từ trình duyệt, tìm tài liệu được yêu cầu và gửi nó trở lại trình duyệt. Nếu tài liệu yêu cầu không được tìm thấy, máy chủ web trả về mã 404.
Lighttpd là một máy chủ web mã nguồn mở và miễn phí được tối ưu hóa cho các môi trường yêu cầu tốc độ cao. Tính bảo mật, linh hoạt và yêu cầu bộ nhớ thấp của nó đã khiến nó trở nên phổ biến hơn.
Với Lighttpd, bạn có thể dễ dàng lưu trữ các ứng dụng web viết bằng các ngôn ngữ lập trình khác nhau bằng cách sử dụng giao diện FastCGI, SCGI và CGI. Những tính năng khác đi kèm với Lighttpd bao gồm URL-Rewriting, Output-Compression, cơ chế sự kiện, xác thực và nhiều tính năng khác.
Hướng dẫn này cung cấp các bước cần thiết để cấu hình Lighttpd Web Server trên Debian 11 với PHP và SSL.
Bạn cần có những điều sau đây:
Sau đó, cập nhật hệ thống của bạn và các gói phần mềm có sẵn lên phiên bản mới nhất:
sudo apt update && sudo apt upgrade
Gói Lighttpd được cung cấp trong các kho lưu trữ mặc định của Debian. Điều này làm cho việc cài đặt và cấu hình nó trở nên dễ dàng.
Dưới đây là lệnh có thể được sử dụng để cài đặt Lighttpd trên Debian 11.
sudo apt-get install lighttpd
Cây phụ thuộc:
Building dependency tree... Done
Reading state information... Done
The following additional packages will be installed:
lighttpd-mod-deflate lighttpd-mod-openssl spawn-fcgi
Suggested packages:
rrdtool php-cgi php-fpm apache2-utils lighttpd-doc lighttpd-mod-authn-gssapi
lighttpd-mod-authn-pam lighttpd-mod-authn-sasl lighttpd-mod-geoip
lighttpd-mod-maxminddb lighttpd-mod-trigger-b4-dl lighttpd-mod-vhostdb-pgsql
lighttpd-mod-webdav lighttpd-modules-dbi lighttpd-modules-ldap
lighttpd-modules-lua lighttpd-modules-mysql
The following NEW packages will be installed:
lighttpd lighttpd-mod-deflate lighttpd-mod-openssl spawn-fcgi
0 upgraded, 4 newly installed, 0 to remove and 0 not upgraded.
Need to get 402 kB of archives.
After this operation, 1,417 kB of additional disk space will be used.
Do you want to continue? [Y/n] y
Sau khi quá trình cài đặt hoàn tất, khởi động và kích hoạt dịch vụ.
sudo systemctl start lighttpd
sudo systemctl enable lighttpd
Xác minh xem dịch vụ có đang chạy hay không.
$ systemctl status lighttpd
● lighttpd.service - Lighttpd Daemon
     Loaded: loaded (/lib/systemd/system/lighttpd.service; enabled; vendor preset: enabled)
     Active: active (running) since Tue 2022-05-17 04:46:25 EDT; 54s ago
   Main PID: 1166 (lighttpd)
      Tasks: 1 (limit: 4663)
     Memory: 948.0K
        CPU: 191ms
     CGroup: /system.slice/lighttpd.service
             └─1166 /usr/sbin/lighttpd -D -f /etc/lighttpd/lighttpd.conf
Đó là tất cả. Lighttpd Web Server đã được cài đặt và sẵn sàng cho việc cấu hình.
Chúng ta cần cài đặt PHP, PHP-FPM và FastCGI trên Debian 11 để có thể lưu trữ các trang web PHP.
Dưới đây là lệnh có thể cài đặt PHP và các tiện ích cần thiết trên Debian 11.
sudo apt-get install php php-cgi php-fpm php-mysql -y
Sau khi cài đặt, bạn có thể cấu hình PHP-FPM như sau:
sudo vim /etc/php/*/fpm/php.ini
Thực hiện thay đổi sau đây:
cgi.fix_pathinfo=1
Bạn cũng có thể thực hiện các điều chỉnh sau dựa trên trang web cụ thể. Hướng dẫn này sẽ minh họa bằng cách thiết lập một trang web WordPress yêu cầu các thiết lập dưới đây.
file_uploads = On
upload_max_filesize = 100M
allow_url_fopen = On
short_open_tag = On
memory_limit = 256M
max_execution_time = 360
date.timezone = Africa/Nairobi
Sau khi thay đổi mong muốn đã được thực hiện, bạn cần cấu hình Lighttpd để làm việc với PHP-FPM thay vì PHP-CGI mặc định.
sudo vim /etc/php/7.4/fpm/pool.d/www.conf
Thực hiện các thay đổi sau đây:
##Find the line
listen = /run/php/php-fpm.sock

##Replace it with this line
listen = 127.0.0.1:9000
Lưu tệp và khởi động lại PHP-FPM.
sudo systemctl restart php*-fpm.service
Xác minh xem dịch vụ có đang chạy không:
$ systemctl status php*-fpm.service
● php7.4-fpm.service - The PHP 7.4 FastCGI Process Manager
     Loaded: loaded (/lib/systemd/system/php7.4-fpm.service; enabled; vendor preset: enabled)
     Active: active (running) since Tue 2022-05-17 04:52:45 EDT; 6s ago
       Docs: man:php-fpm7.4(8)
    Process: 11240 ExecStartPost=/usr/lib/php/php-fpm-socket-helper install /run/php/php-fpm.sock /etc/php/7.4/fpm/pool.d/www.conf 74 (code>
   Main PID: 11237 (php-fpm7.4)
     Status: "Ready to handle connections"
      Tasks: 3 (limit: 4663)
     Memory: 8.8M
        CPU: 31ms
     CGroup: /system.slice/php7.4-fpm.service
             ├─11237 php-fpm: master process (/etc/php/7.4/fpm/php-fpm.conf)
             ├─11238 php-fpm: pool www
             └─11239 php-fpm: pool www
Bây giờ sửa đổi cấu hình Lighttpd để sử dụng PHP-FPM.
sudo vim /etc/lighttpd/conf-available/15-fastcgi-php.conf
Trong tệp đã mở, thực hiện các thay đổi sau:
##Find the lines
"bin-path" => "/usr/bin/php-cgi",
"socket" => "/var/run/lighttpd/php.socket",

##Replace with these lines
"host" => "127.0.0.1",
"port" => "9000",
Bây giờ lưu tệp và kích hoạt các mô-đun FastCGI và FastCGI-PHP.
sudo lighty-enable-mod fastcgi lighty-enable-mod fastcgi-php
Khởi động lại máy chủ web.
sudo systemctl restart lighttpd
Lighttpd cho phép bạn lưu trữ nhiều trang web bằng cách sử dụng các tệp cấu hình ảo. Trong hướng dẫn này, chúng ta sẽ tạo một cấu hình máy chủ ảo đơn giản để lưu trữ một trang web PHP (WordPress).
sudo vim /etc/lighttpd/conf-available/wordpress.conf
Trong tệp, thêm các dòng sau:
$HTTP["host"] == "wordpress.techviewleo.com" {
    server.document-root = "/var/www/html/wordpress"
    server.errorlog = "/var/log/lighttpd/wordpress-error.log"
}
Lưu tệp và kích hoạt trang web như sau:
sudo ln -s /etc/lighttpd/conf-available/wordpress.conf /etc/lighttpd/conf-enabled/
Bây giờ chúng ta sẽ tải xuống WordPress.
cd /tmp
wget https://wordpress.org/latest.tar.gz
Giải nén tệp nén và di chuyển nó vào thư mục gốc của trang web (webroot).
tar -xvzf latest.tar.gz
sudo mv wordpress /var/www/html/wordpress
Thiết lập sở hữu của tệp cho người dùng www-data.
sudo chown -R www-data:www-data /var/www/html/wordpress
sudo chmod -R 755 /var/www/html/wordpress
Khởi động lại dịch vụ Lighttpd.
sudo systemctl restart lighttpd
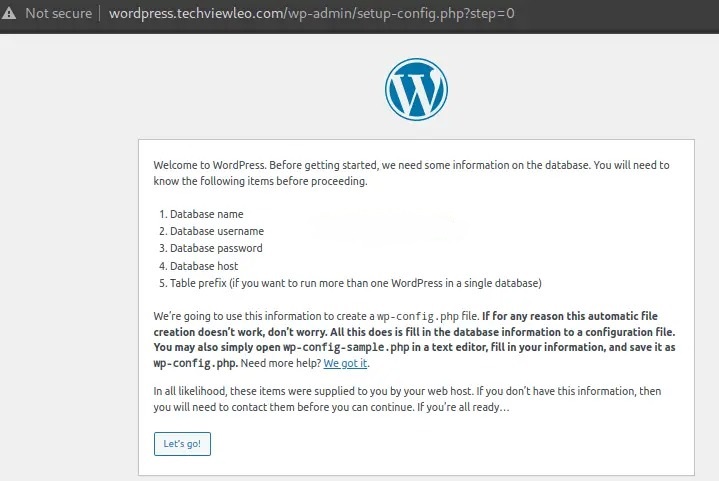
Sau khi máy chủ ảo đã được cấu hình, tiếp tục và truy cập trang web của bạn bằng URL //wordpres.techviewleo.com.
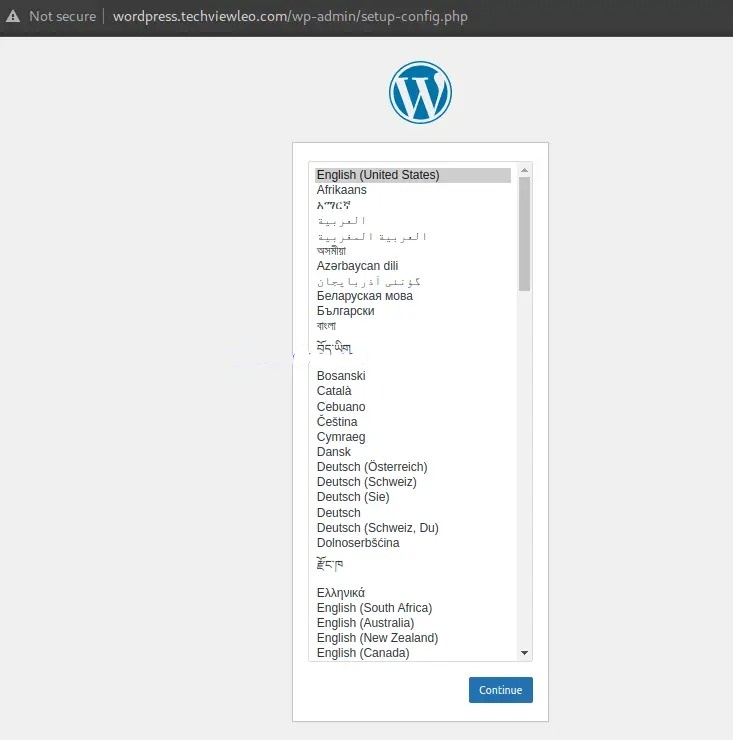
Điều này đã xác minh rằng Lighttpd đang phục vụ các tệp như mong muốn. Bạn có thể cần cài đặt và cấu hình cơ sở dữ liệu, sau đó tiếp tục cài đặt trang web WordPress.
Để bảo mật trang web và truy cập thông qua HTTPS, bạn cần tạo chứng chỉ SSL cho tên miền của bạn. Có một số phương pháp để bạn tạo chứng chỉ SSL, bao gồm: chứng chỉ tự ký với OpenSSL, chứng chỉ miễn phí với Let’s Encrypt và nhiều phương pháp khác.
Để tạo chứng chỉ với Let’s Encrypt, bạn cần có một tên miền đủ điều kiện và thực hiện theo hướng dẫn dưới đây.
Cài đặt các gói phần mềm cần thiết trên Debian 11.
sudo apt update
sudo apt install certbot -y
Bây giờ cấp chứng chỉ cho tên miền của bạn.
sudo certbot certonly --webroot -w /var/www/html/wordpress/ -d wordpress.techviewleo.com
Tiếp tục như được hiển thị:
Saving debug log to /var/log/letsencrypt/letsencrypt.log
Enter email address (used for urgent renewal and security notices)
(Enter 'c' to cancel): Enter a valid Email address here

- - - - - - - - - - - - - - - - - - - - - - - - - - - - - - - - - - - - - - - -
Please read the Terms of Service at
https://letsencrypt.org/documents/LE-SA-v1.2-November-15-2017.pdf. You must
agree in order to register with the ACME server. Do you agree?
- - - - - - - - - - - - - - - - - - - - - - - - - - - - - - - - - - - - - - - -
(Y)es/(N)o: y

- - - - - - - - - - - - - - - - - - - - - - - - - - - - - - - - - - - - - - - -
Would you be willing, once your first certificate is successfully issued, to
share your email address with the Electronic Frontier Foundation, a founding
partner of the Let's Encrypt project and the non-profit organization that
develops Certbot? We'd like to send you email about our work encrypting the web,
EFF news, campaigns, and ways to support digital freedom.
- - - - - - - - - - - - - - - - - - - - - - - - - - - - - - - - - - - - - - - -
(Y)es/(N)o: y
Account registered.
......
IMPORTANT NOTES: - Congratulations! Your certificate and chain have been saved at: /etc/letsencrypt/live/wordpress.techviewleo.com/fullchain.pem Your key file has been saved at: /etc/letsencrypt/live/wordpress.techviewleo.com/privkey.pem Your cert will expire on 2019-12-06. To obtain a new or tweaked version of this certificate in the future, simply run certbot again. To non-interactively renew *all* of your certificates, run "certbot renew" - If you like Certbot, please consider supporting our work by:
Bây giờ bạn đã có chứng chỉ SSL cho tên miền của mình. Kết hợp các tệp này thành một tệp duy nhất.
DOMAIN="wordpress.techviewleo.com"
sudo cat /etc/letsencrypt/live/${DOMAIN}/cert.pem /etc/letsencrypt/live/${DOMAIN}/privkey.pem | sudo tee -a /etc/letsencrypt/live/${DOMAIN}/web.pem
Bây giờ bạn cần chỉnh sửa tệp máy chủ ảo để chứa các chứng chỉ.
sudo vim /etc/lighttpd/conf-enabled/wordpress.conf
Thực hiện các thay đổi sau đây:
$HTTP["host"] == "wordpress.techviewleo.com" {
server.document-root = "/var/www/html/wordpress"
}

$SERVER["socket"] == ":443" {
ssl.engine = "enable"
ssl.pemfile = "/etc/letsencrypt/live/wordpress.techviewleo.com/web.pem"
ssl.ca-file = "/etc/letsencrypt/live/wordpress.techviewleo.com/chain.pem"
server.name = "wordpress.techviewleo.com"
server.document-root = "/var/www/html/wordpress"
server.errorlog = "/var/log/lighttpd/wordpress-error.log"

accesslog.filename = "/var/log/lighttpd/wordpress_access.log"
}

$HTTP["scheme"] == "http" {
$HTTP["host"] == "wordpress.techviewleo.com" {
url.redirect = ("/.*" => "https://wordpress.techviewleo.com$0")
}
}
Lưu tệp và khởi động lại Lighttpd.
sudo systemctl restart lighttpd
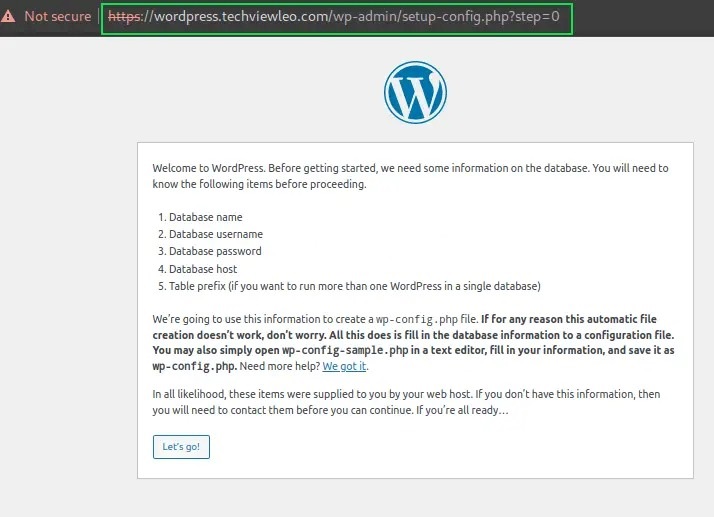
Truy cập trang web thông qua HTTPS.
Nếu bạn không có tên miền FQDN, bạn có thể tạo chứng chỉ SSL tự ký bằng OpenSSL. Bạn cần đảm bảo rằng OpenSSL đã được cài đặt.
sudo apt install openssl
Tiếp tục và tạo chứng chỉ SSL tự ký. Trước tiên, tạo một tệp cấu hình, sau đó tùy chỉnh nội dung được cung cấp dưới đây để phù hợp với môi trường của bạn.
$ vim wordpress_ssl.conf
[req]
default_bits = 2048
default_keyfile = wordpress_ssl.key
distinguished_name = req_distinguished_name
req_extensions = req_ext
x509_extensions = v3_ca

[req_distinguished_name]
countryName = Country Name (2 letter code)
countryName_default = KE
stateOrProvinceName = State or Province Name (full name)
stateOrProvinceName_default = Nairobi
localityName = Locality Name (eg, city)
localityName_default = Nairobi
organizationName = Organization Name (eg, company)
organizationName_default = Techviewleo
organizationalUnitName = organizationalunit
organizationalUnitName_default = Development
commonName = Common Name (e.g. server FQDN or YOUR name)
commonName_default = Your_IP-Address/Domain_name
commonName_max = 64

[req_ext]
subjectAltName = @alt_names

[v3_ca]
subjectAltName = @alt_names

[alt_names]
DNS.1 = localhost
DNS.2 = Your_IP-Address/Domain_name
Tạo chứng chỉ SSL bằng cấu hình đã tạo.
sudo openssl req -x509 -nodes -days 365 -newkey rsa:2048 -keyout wordpress_privkey.pem -out wordpress_fullchain.pem -config wordpress_ssl.conf
Chỉ cần nhấn Enter liên tục cho đến khi quá trình tạo chứng chỉ SSL hoàn thành. Bây giờ sao chép các khóa vào /etc/ssl/certs như sau:
sudo cp wordpress_fullchain.pem /etc/ssl/certs/wordpress_fullchain.pem
sudo mkdir -p /etc/ssl/private/
sudo cp wordpress_privkey.pem /etc/ssl/private/wordpress_privkey.pem
Bây giờ hãy chỉnh sửa tệp máy chủ ảo của bạn.
sudo vim /etc/lighttpd/conf-enabled/wordpress.conf
Thực hiện các thay đổi sau đây.
$HTTP["host"] == "wordpress.techviewleo.com" {
server.document-root = "/var/www/html/wordpress"
}

$SERVER["socket"] == ":443" {
ssl.engine = "enable"
ssl.pemfile = "/etc/ssl/certs/wordpress_fullchain.pem"
ssl.privkey = "/etc/ssl/private/wordpress_privkey.pem"
server.name = "wordpress.techviewleo.com"
server.document-root = "/var/www/html/wordpress"
server.errorlog = "/var/log/lighttpd/wordpress-error.log"
accesslog.filename = "/var/log/lighttpd/wordpress_access.log"
}

$HTTP["scheme"] == "http" {
$HTTP["host"] == "wordpress.techviewleo.com" {
url.redirect = ("/.*" => "https://wordpress.techviewleo.com$0")
}
}
Khởi động lại máy chủ web.
sudo systemctl restart lighttpd
Bây giờ truy cập trang web của bạn thông qua HTTPS.
Chúng ta đã đi qua một hệ thống cách cấu hình Lighttpd Web Server trên Debian 11 với PHP và SSL. Chúng ta đã xác minh điều này bằng cách sử dụng một trang web WordPress đơn giản. Hy vọng hướng dẫn trên giúp ích cho bạn.
Mọi người cũng tìm kiếm: lighttpd, lighttpd web server, web server lighttpd, lighttpd server.
Tips: Tham gia Channel Telegram KDATA để không bỏ sót khuyến mãi hot nào
 English